
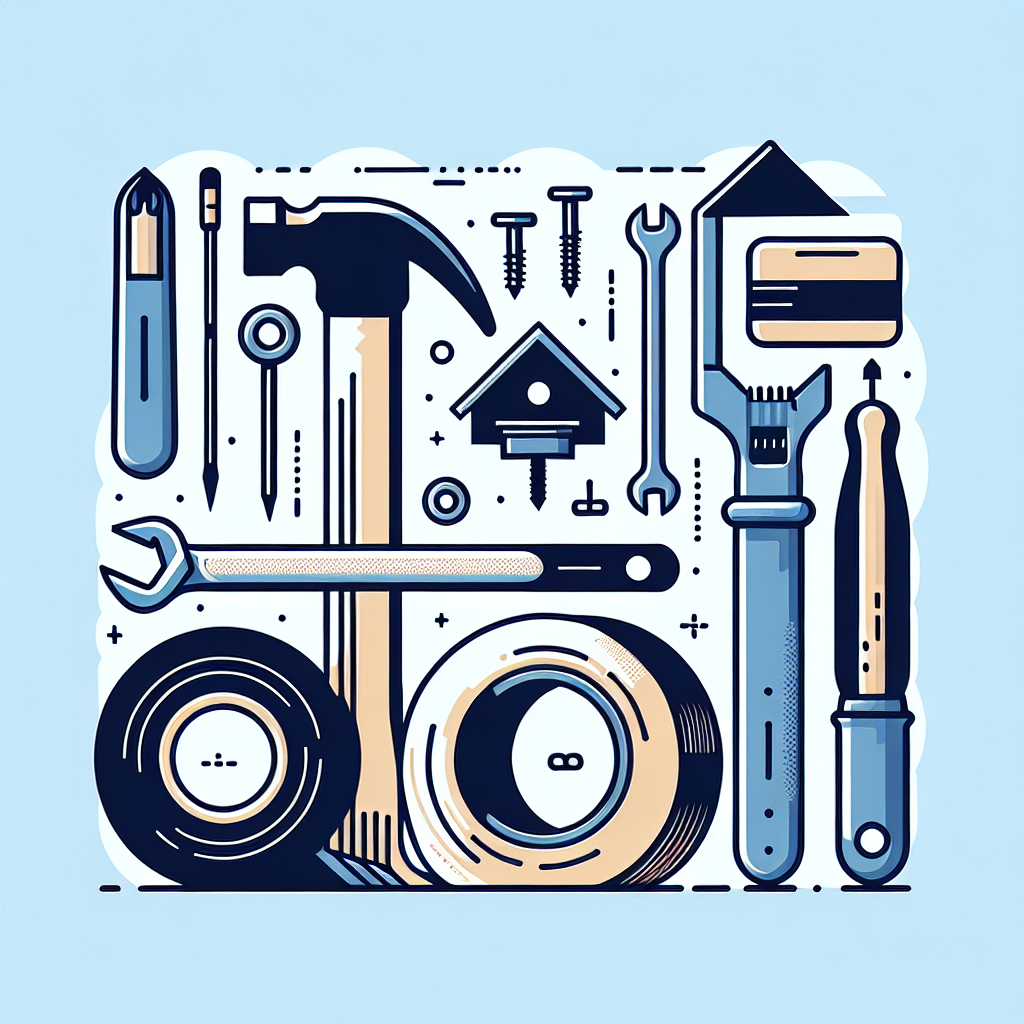
Introduction
In today’s world, where the cost of living continues to rise, learning how to tackle common household repairs can be a valuable skill. Not only can it save you money, but it can also give you a sense of accomplishment and independence. This comprehensive guide will walk you through 10 common household repairs that you can easily do yourself, even if you’re not particularly handy.
We’ll cover everything from fixing a leaky faucet to patching drywall, providing step-by-step instructions, tool recommendations, and helpful tips. By the end of this article, you’ll feel confident in your ability to tackle these repairs and maybe even take on more challenging projects in the future.
1. Fixing a Leaky Faucet
A dripping faucet is not only annoying but can also waste a significant amount of water over time. Fortunately, fixing a leaky faucet is often a simple task that you can accomplish with a few basic tools.
Tools you’ll need:
- Adjustable wrench
- Screwdriver
- Replacement parts (washers, O-rings, or cartridge)
Step-by-step guide:
- Turn off the water supply to the faucet.
- Remove the faucet handle by unscrewing the decorative cap and removing the screw underneath.
- Use the adjustable wrench to remove the packing nut.
- Inspect the washer, O-ring, or cartridge for wear and tear.
- Replace the damaged part with a new one.
- Reassemble the faucet in reverse order.
- Turn the water supply back on and test the faucet.
Pro tip: Take pictures or make notes during disassembly to help you remember how to put everything back together.
2. Unclogging a Drain
Clogged drains are a common household nuisance, but you don’t always need to call a plumber to fix them. With a few simple techniques, you can often clear the blockage yourself.
Methods to try:
1. Plunger method
- Fill the sink or tub with a few inches of water.
- Place the plunger over the drain and create a seal.
- Pump the plunger vigorously for 30 seconds to a minute.
- Remove the plunger and check if the water drains.
2. Baking soda and vinegar method
- Pour 1/2 cup of baking soda down the drain.
- Follow with 1/2 cup of white vinegar.
- Cover the drain with a plug or rag.
- Wait 15 minutes, then flush with hot water.
3. Drain snake method
- Insert the drain snake into the drain opening.
- Turn the handle to push the snake further into the pipe.
- When you feel resistance, rotate the snake to break up the clog.
- Slowly pull the snake out and dispose of any debris.
- Run hot water to clear any remaining blockage.
Remember: Avoid using chemical drain cleaners as they can damage your pipes and harm the environment.
3. Patching Drywall
Small holes and dents in drywall are unsightly but relatively easy to repair. With a little patience and the right materials, you can make your walls look smooth and pristine again.
Materials needed:
- Drywall patch or mesh tape
- Joint compound
- Putty knife
- Sandpaper
- Paint and paintbrush
Step-by-step guide:
- Clean the damaged area and sand it lightly.
- For small holes, apply a self-adhesive drywall patch. For larger holes, cut a piece of drywall to fit and secure it with drywall screws.
- Apply joint compound over the patch using a putty knife, feathering the edges.
- Let it dry completely, then sand it smooth.
- Apply a second coat of joint compound if necessary.
- Once dry and sanded, prime and paint the repaired area to match the surrounding wall.
Pro tip: For a seamless finish, use a slightly wider putty knife for each subsequent coat of joint compound.
4. Fixing a Running Toilet
A running toilet can waste gallons of water and increase your water bill. Most toilet problems are caused by issues with the flush valve or fill valve, which are easily replaceable.
Common causes and solutions:
1. Faulty flapper
- Remove the tank lid and inspect the flapper.
- If it’s worn or damaged, replace it with a new one.
- Ensure the chain is properly adjusted, allowing the flapper to seal completely.
2. Misadjusted float
- Check the water level in the tank. It should be about an inch below the top of the overflow tube.
- Adjust the float arm or cup to lower the water level if necessary.
3. Malfunctioning fill valve
- If adjusting the float doesn’t solve the problem, you may need to replace the fill valve.
- Turn off the water supply and flush the toilet to empty the tank.
- Unscrew the old fill valve and replace it with a new one.
- Reconnect the water supply and adjust the water level as needed.
Remember: Always turn off the water supply before working on your toilet’s internal components.
5. Repairing a Loose Doorknob
A loose doorknob can be frustrating and potentially leave you locked out of a room. Fortunately, tightening a doorknob is a quick and easy fix.
Tools needed:
- Screwdriver
- Allen wrench (if applicable)
Step-by-step guide:
- Locate the set screw on the side of the doorknob. It may be hidden under a small metal plate.
- Tighten the set screw using a screwdriver or Allen wrench.
- If the knob is still loose, remove it completely to access the mounting screws on the door.
- Tighten these screws, then reassemble the doorknob.
- Test the doorknob to ensure it’s secure and functioning properly.
Pro tip: Apply a small amount of thread-locking adhesive to the screws to prevent them from loosening again in the future.
6. Fixing a Stuck Window
Windows that are difficult to open or close can be a safety hazard and reduce your home’s energy efficiency. Often, the problem is caused by dirt, debris, or paint buildup in the window tracks.
Materials needed:
- Silicone spray lubricant
- Putty knife
- Vacuum cleaner
- Cleaning cloth
Step-by-step guide:
- Clean the window tracks thoroughly using a vacuum cleaner and damp cloth.
- Use a putty knife to scrape away any paint or debris stuck in the tracks.
- Apply silicone spray lubricant to the tracks and window hardware.
- Open and close the window several times to distribute the lubricant.
- If the window is still stuck, check for warped wood or damaged hardware and replace as necessary.
Remember: Never force a stuck window open, as this can cause damage or injury.
7. Replacing a Light Switch
Replacing a faulty light switch is a simple electrical repair that can be done safely with the right precautions.
Tools and materials needed:
- Screwdriver
- Wire stripper
- New light switch
- Electrical tape
Step-by-step guide:
- Turn off the power to the switch at the circuit breaker.
- Remove the switch plate and unscrew the switch from the electrical box.
- Take a picture or make note of how the wires are connected to the old switch.
- Disconnect the wires from the old switch.
- Connect the wires to the new switch in the same configuration.
- Secure the new switch to the electrical box and replace the switch plate.
- Turn the power back on and test the switch.
Safety first: Always use a voltage tester to ensure the power is off before working on electrical components.
8. Sealing Gaps Around Windows and Doors
Sealing gaps around windows and doors can significantly improve your home’s energy efficiency and reduce drafts.
Materials needed:
- Weatherstripping
- Caulk and caulk gun
- Utility knife
- Cleaning supplies
Step-by-step guide:
- Clean the areas around windows and doors thoroughly.
- For gaps between the window or door frame and the wall, apply caulk using a caulk gun.
- For gaps between moving parts (like a window sash and frame), install weatherstripping.
- Cut the weatherstripping to size and apply it according to the manufacturer’s instructions.
- Test the windows and doors to ensure they open and close smoothly.
Pro tip: Choose the right type of weatherstripping for each application. For example, V-strip works well for double-hung windows, while foam tape is suitable for doorframes.
9. Fixing a Squeaky Floor
Squeaky floors can be annoying, but they’re often easy to fix without tearing up your flooring.
Methods to try:
1. Talcum powder method
- Sprinkle talcum powder over the squeaky area.
- Work the powder into the cracks between floorboards using a soft brush.
- Walk on the area to distribute the powder.
2. Wood filler method
- Clean out any debris between the floorboards.
- Apply wood filler to the gaps using a putty knife.
- Allow the filler to dry completely before walking on the area.
3. Screw method (for access from below)
- Locate the squeaky area from below.
- Drive a wood screw through the subfloor and into the floor joist.
- Be careful not to penetrate the finished flooring above.
Remember: For hardwood floors, be sure to use methods that won’t damage the finish or void your warranty.
10. Regrouting Tile
Cracked or discolored grout can make your tiled surfaces look old and unkempt. Regrouting is a relatively simple process that can refresh the look of your tiles.
Materials needed:
- Grout removal tool or utility knife
- New grout
- Grout float
- Sponge
- Bucket
- Grout sealer
Step-by-step guide:
- Remove the old grout using a grout removal tool or utility knife.
- Clean the gaps between tiles thoroughly.
- Mix the new grout according to the manufacturer’s instructions.
- Apply the grout using a grout float, pressing it firmly into the gaps.
- Wipe away excess grout with a damp sponge.
- Allow the grout to dry for the recommended time.
- Apply grout sealer to protect the new grout from stains and moisture.
Pro tip: Work in small sections to prevent the grout from drying before you can smooth it out.
Conclusion
Tackling these common household repairs yourself can save you money and give you a sense of accomplishment. With the right tools, materials, and a bit of patience, you can keep your home in top shape without always relying on professional help.
Remember to always prioritize safety, especially when working with electrical components or power tools. If you’re ever unsure about a repair or encounter a problem that seems beyond your skill level, don’t hesitate to call in a professional.
By mastering these DIY skills, you’ll not only save money but also gain confidence in your ability to maintain and improve your home. Who knows? You might even discover a new hobby in the process!
FAQs
Q1: How often should I check for household repairs?
A: It’s a good idea to do a thorough inspection of your home at least twice a year, ideally in spring and fall. This allows you to catch potential issues before they become major problems.
Q2: What basic tools should I have for DIY home repairs?
A: Some essential tools include a hammer, screwdrivers (flathead and Phillips), pliers, adjustable wrench, utility knife, and a tape measure. As you tackle more projects, you can add specialized tools to your collection.
Q3: Are there any repairs I should never attempt on my own?
A: Generally, it’s best to leave major electrical work, gas line repairs, and structural changes to licensed professionals. These repairs can be dangerous if not done correctly and may require permits.
Q4: How can I prevent future household repairs?
A: Regular maintenance is key. This includes cleaning gutters, checking for leaks, lubricating moving parts on windows and doors, and addressing small issues before they become big problems.
Q5: What should I do if a DIY repair doesn’t work?
A: If your repair attempt doesn’t solve the problem or makes it worse, don’t hesitate to call a professional. It’s better to admit defeat than to risk causing more damage or creating a safety hazard.