
Introduction
A leaky or outdated shower head can be a constant source of frustration, wasting water and energy while diminishing your shower experience. Fortunately, replacing a shower head is a relatively simple DIY task that can dramatically improve your daily routine. In this comprehensive guide, we’ll walk you through the process of replacing your shower head, offering expert tips, tool recommendations, and insights to ensure a smooth and hassle-free installation.
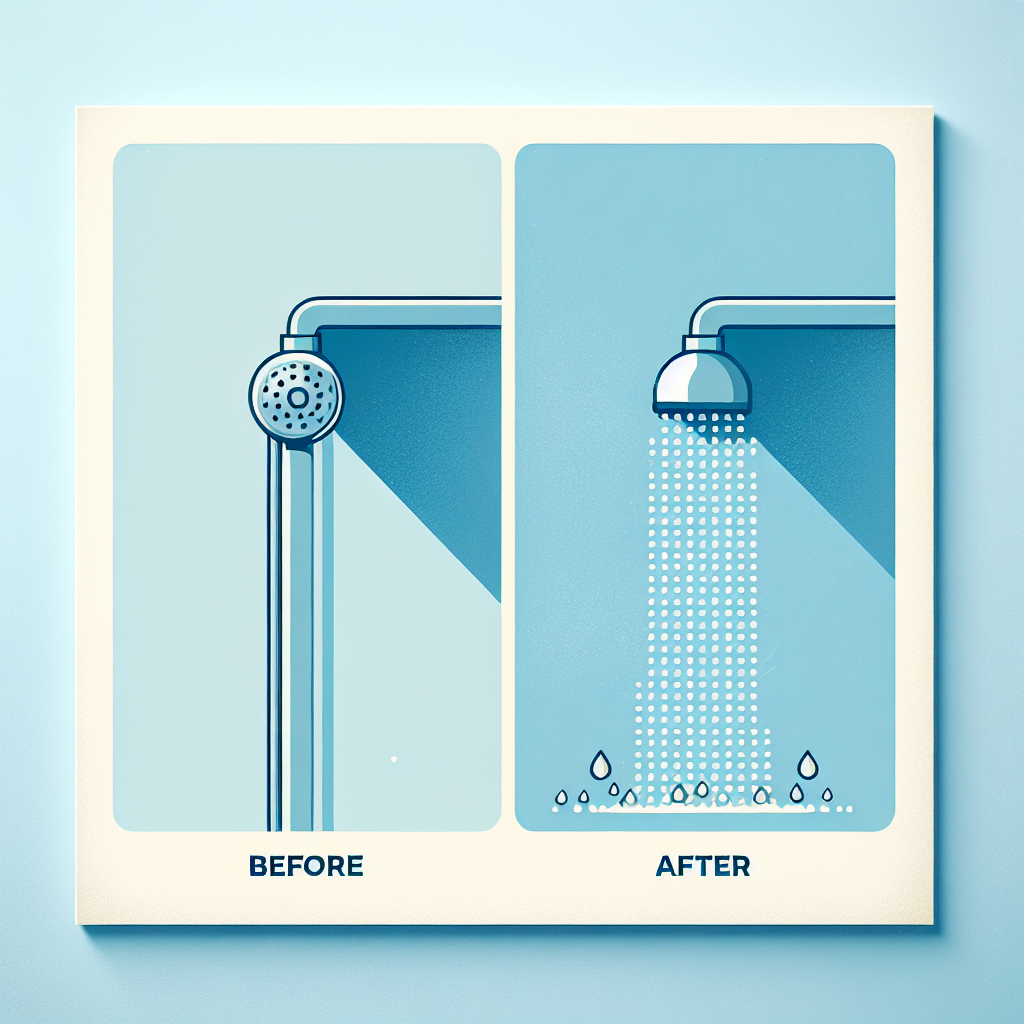
Why Replace Your Shower Head?
Before we dive into the how-to, let’s explore some compelling reasons to upgrade your shower head:
1. Improved Water Efficiency
Modern shower heads are designed with water conservation in mind. By replacing an old, inefficient model, you can:
- Reduce water consumption
- Lower your water bills
- Minimize your environmental impact
2. Enhanced Shower Experience
New shower heads offer a variety of features to elevate your bathing experience:
- Multiple spray patterns
- Adjustable water pressure
- Rain-like water distribution
- Handheld options for added flexibility
3. Address Leaks and Clogs
Over time, shower heads can develop:
- Mineral buildup
- Cracks or damage
- Worn-out components
Replacing your shower head can eliminate these issues, ensuring a consistent and enjoyable shower.
Tools and Materials You’ll Need
Before you begin, gather the following items:
- New shower head
- Adjustable wrench or pliers
- Teflon tape
- Clean cloth or rag
- Vinegar solution (optional, for cleaning)
- Old toothbrush (optional, for cleaning)
Pro Tip: Consider investing in a shower head wrench for easier removal and installation, especially if you plan on changing shower heads frequently.
Step-by-Step Guide to Replacing Your Shower Head
Follow these steps to replace your shower head without any hassle:
Step 1: Remove the Old Shower Head
- Turn off the water supply to your shower.
- Place a towel in the bathtub or shower base to catch any falling parts.
- Grip the shower arm (the pipe coming out of the wall) with one hand to stabilize it.
- Use your adjustable wrench or pliers to unscrew the old shower head counterclockwise.
- If the shower head is stuck, apply penetrating oil and let it sit for a few minutes before trying again.
Step 2: Clean the Shower Arm
- Remove any old Teflon tape or plumber’s putty from the shower arm threads.
- Clean the threads with a cloth or rag to remove any debris or mineral buildup.
- For stubborn mineral deposits, use a vinegar solution and an old toothbrush to scrub the threads clean.
Step 3: Apply Teflon Tape
- Wrap Teflon tape clockwise around the shower arm threads 3-4 times.
- Ensure the tape is evenly applied and covers all threads.
- Smooth out any wrinkles or bubbles in the tape.
Pro Tip: Teflon tape creates a watertight seal and makes future removal easier. Don’t skip this step!
Step 4: Install the New Shower Head
- Carefully align the new shower head with the shower arm threads.
- Hand-tighten the shower head clockwise onto the shower arm.
- Use your adjustable wrench or pliers to give it an additional quarter turn for a secure fit.
- Be careful not to over-tighten, as this can damage the shower head or shower arm.
Step 5: Test for Leaks
- Turn on the water supply to your shower.
- Run the shower and check for any leaks around the connection point.
- If you notice any leaks, turn off the water and tighten the connection slightly.
- Repeat the test until no leaks are present.
Choosing the Right Shower Head
Selecting the perfect shower head for your needs can greatly enhance your bathing experience. Consider the following factors when making your choice:
1. Water Pressure
- High-pressure shower heads: Ideal for those who prefer a strong, invigorating spray.
- Low-flow shower heads: Perfect for water conservation and energy efficiency.
2. Spray Patterns
- Rain shower heads: Provide a gentle, rainfall-like experience.
- Massage shower heads: Offer pulsating streams for a spa-like massage.
- Multi-function shower heads: Allow you to switch between various spray patterns.
3. Installation Type
- Wall-mounted: The most common and easiest to install.
- Ceiling-mounted: Provide a luxurious overhead shower experience.
- Handheld: Offer flexibility and ease of use, especially for cleaning or bathing pets.
4. Materials and Finishes
- Chrome: Durable and easy to clean.
- Brushed nickel: Resistant to fingerprints and water spots.
- Oil-rubbed bronze: Offers a classic, vintage look.
- Plastic: Lightweight and budget-friendly.
5. Additional Features
- LED lights: Create a unique ambiance in your shower.
- Bluetooth speakers: Allow you to enjoy music or podcasts while showering.
- Filtered shower heads: Remove chlorine and other impurities from your water.
Advanced Shower Head Installation Tips
For those looking to take their shower head installation to the next level, consider these advanced tips:
1. Install a Shower Arm Extension
If you’re taller or want to adjust the height of your shower head, consider installing a shower arm extension. This can provide additional clearance and improve your overall shower experience.
2. Add a Diverter Valve
A diverter valve allows you to switch between multiple shower heads or between a shower head and a handheld unit. This can add versatility to your shower setup.
3. Consider a Pressure-Balancing Valve
If you experience fluctuations in water temperature or pressure, installing a pressure-balancing valve can help maintain consistent water flow and temperature.
4. Upgrade to a Smart Shower System
For tech enthusiasts, smart shower systems offer features like:
- Voice-activated controls
- Preset temperature and flow settings
- Water usage tracking
- Integration with home automation systems
Maintaining Your New Shower Head
To ensure your new shower head continues to function optimally, follow these maintenance tips:
1. Regular Cleaning
- Clean your shower head monthly to prevent mineral buildup.
- Use a vinegar solution or a commercial descaling product.
- Gently scrub the nozzles with an old toothbrush to remove debris.
2. Check for Leaks
- Periodically inspect the connection between the shower head and arm for leaks.
- Tighten the connection if necessary, being careful not to over-tighten.
3. Replace Washers and O-rings
- If you notice persistent leaks, replace the rubber washers or O-rings inside the shower head.
- These components can wear out over time and are easily replaceable.
4. Flush the Shower Head
- Occasionally remove the shower head and flush it with clean water to remove any built-up sediment.
- This can help maintain consistent water flow and pressure.
Troubleshooting Common Issues
Even with proper installation, you may encounter some issues with your new shower head. Here are some common problems and their solutions:
1. Low Water Pressure
- Check for and remove any flow restrictors in the shower head.
- Clean the shower head to remove mineral buildup.
- Inspect your home’s water pressure and consider installing a pressure-boosting system if necessary.
2. Leaks at the Connection Point
- Ensure the Teflon tape is properly applied to the shower arm threads.
- Check that the shower head is not cross-threaded or over-tightened.
- Replace any damaged or worn-out washers or O-rings.
3. Uneven Spray Pattern
- Clean the nozzles to remove any mineral deposits or debris.
- Check for any bent or damaged nozzles and straighten or replace them as needed.
- Ensure the shower head is properly aligned with the water flow.
4. Water Temperature Fluctuations
- Consider installing a pressure-balancing valve to maintain consistent water temperature.
- Check your water heater settings and adjust if necessary.
- Inspect your plumbing system for any issues that may be causing temperature fluctuations.
Eco-Friendly Shower Head Options
For environmentally conscious homeowners, there are several eco-friendly shower head options to consider:
1. WaterSense Certified Shower Heads
- Meet EPA standards for water efficiency
- Use no more than 2.0 gallons per minute
- Provide a satisfying shower experience while conserving water
2. Aerating Shower Heads
- Mix air with water to create a fuller spray
- Reduce water consumption without sacrificing pressure
- Often result in lower water and energy bills
3. Thermostatic Shower Heads
- Maintain a consistent water temperature
- Reduce water waste from temperature adjustments
- Often include flow-control features for additional water savings
4. Timer-Equipped Shower Heads
- Encourage shorter showers with built-in timers
- Help users track and reduce their water usage
- Often include LED indicators to visually represent shower duration
Conclusion
Replacing your shower head is a simple yet effective way to improve your daily shower experience while potentially saving water and energy. By following the steps outlined in this guide, you can easily install a new shower head without the need for professional help. Remember to choose a shower head that suits your needs and preferences, and don’t forget to maintain it regularly for optimal performance.
Whether you’re looking to conserve water, enjoy a more luxurious shower, or simply fix a leaky fixture, upgrading your shower head is a worthwhile investment in your home and personal comfort. With the right tools, a bit of patience, and the knowledge gained from this guide, you’ll be enjoying your new shower head in no time.
FAQs
1. How often should I replace my shower head?
It’s recommended to replace your shower head every 6-8 years, or sooner if you notice issues like leaks, reduced water pressure, or mineral buildup that can’t be cleaned.
2. Can I install a new shower head if I’m renting?
In most cases, yes. Shower heads are considered temporary fixtures, and you can usually replace them as long as you keep the original to reinstall when you move out. Always check with your landlord first to be sure.
3. Do I need to turn off the main water supply to replace a shower head?
No, you typically only need to turn off the water supply to the shower itself. There’s usually a shut-off valve in the bathroom or nearby closet.
4. Can I use plumber’s tape instead of Teflon tape?
Plumber’s tape and Teflon tape are the same thing. Both names refer to the white, thread-sealing tape used in plumbing applications.
5. How do I know if my shower head is water-efficient?
Look for the WaterSense label, which indicates that the shower head meets EPA water efficiency and performance standards. These shower heads use no more than 2.0 gallons of water per minute.
6. Can I increase my water pressure by changing the shower head?
While a new shower head can improve perceived water pressure through better spray patterns, it can’t increase the actual water pressure in your plumbing system. If you have consistently low pressure, you may need to address issues with your home’s plumbing.
7. Is it normal for a new shower head to leak slightly?
No, a properly installed shower head should not leak. If you notice any leaks, double-check the installation, ensure the Teflon tape is correctly applied, and tighten the connection slightly if needed.
8. Can I install a rainfall shower head in place of a standard wall-mounted one?
In most cases, yes. However, you may need to install an extension arm to position the rainfall shower head correctly. Some rainfall shower heads are designed to work with existing shower arms, while others may require ceiling mounting.
9. How do I clean a shower head with vinegar?
Fill a plastic bag with white vinegar and secure it over the shower head with a rubber band or tape. Let it soak for several hours or overnight, then remove the bag and scrub the nozzles gently with an old toothbrush.
10. Are handheld shower heads difficult to install?
Handheld shower heads are generally as easy to install as fixed shower heads. They typically come with a mounting bracket that attaches to the shower arm, and the flexible hose connects to both the bracket and the handheld unit.