
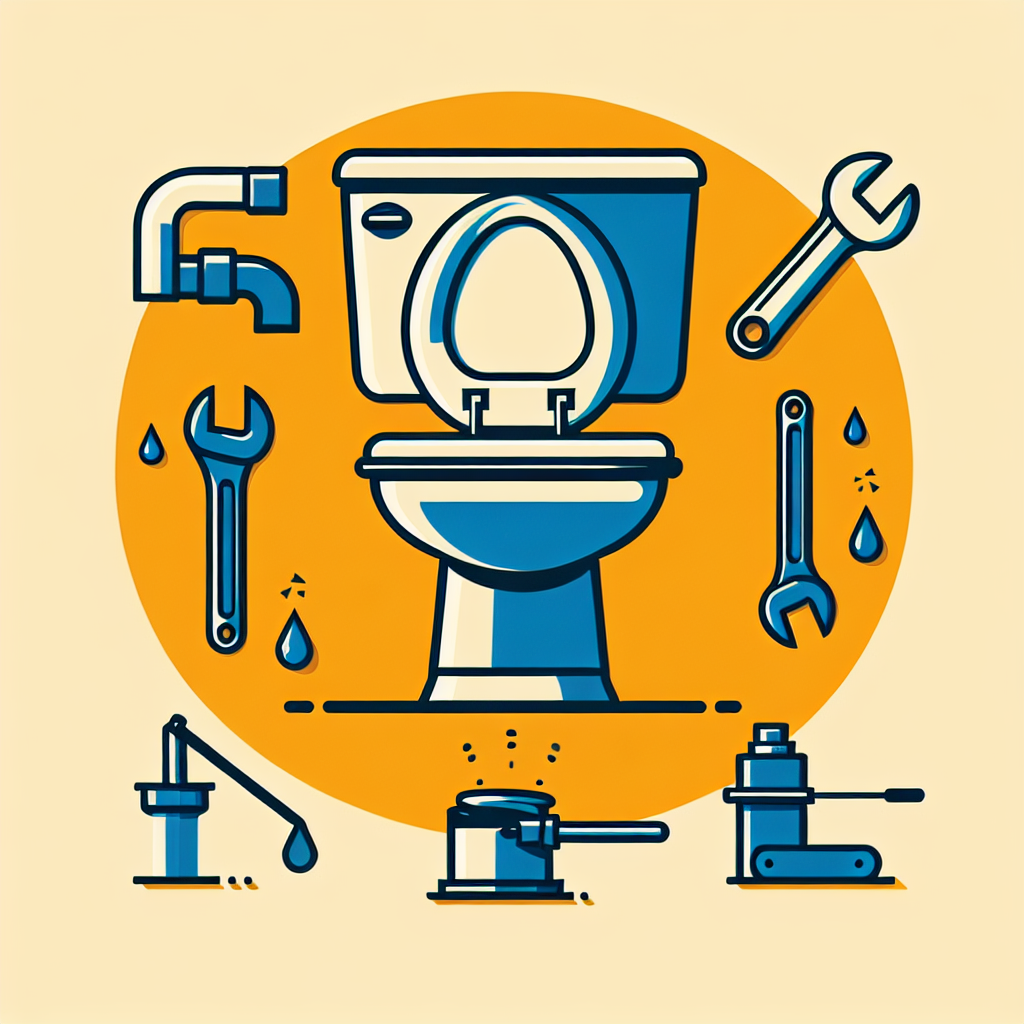
Understanding the Anatomy of a Toilet
Before we dive into troubleshooting and repairing a running toilet, it’s essential to understand the basic components of a toilet. This knowledge will help you identify the source of the problem more easily and make informed decisions during the repair process.
Key Components of a Toilet
1. Tank: The upper part of the toilet that holds water for flushing.
2. Bowl: The lower part of the toilet where waste is collected and flushed away.
3. Fill valve: Responsible for refilling the tank after each flush.
4. Flush valve: Controls the release of water from the tank into the bowl during flushing.
5. Flapper: A rubber seal that covers the flush valve opening.
6. Float: Regulates the water level in the tank.
7. Overflow tube: Prevents the tank from overfilling by directing excess water into the bowl.
8. Chain: Connects the flush lever to the flapper.
Understanding these components will make it easier to identify and address issues when your toilet starts running continuously.
Common Causes of a Running Toilet
A running toilet can be caused by various factors. Identifying the specific issue is crucial for effective troubleshooting and repair. Here are some of the most common causes:
1. Faulty Flapper
The flapper is responsible for creating a seal between the tank and the bowl. If it’s worn out, damaged, or not seating properly, water can continuously leak from the tank into the bowl, causing the toilet to run.
2. Incorrect Chain Length
If the chain connecting the flush lever to the flapper is too short or too long, it can prevent the flapper from sealing properly, leading to a continuous water flow.
3. Malfunctioning Fill Valve
A faulty fill valve may not shut off completely, causing water to continuously flow into the tank and overflow into the bowl.
4. Misadjusted Float
If the float is set too high, it can cause the water level to rise above the overflow tube, resulting in constant water flow.
5. Cracked Overflow Tube
A crack in the overflow tube can cause water to leak continuously into the bowl.
6. Corroded Flush Valve Seat
Over time, mineral deposits can accumulate on the flush valve seat, preventing the flapper from creating a proper seal.
Tools and Materials You’ll Need
Before you start troubleshooting and repairing your running toilet, gather the following tools and materials:
- Adjustable wrench
- Pliers
- Screwdriver (flathead and Phillips)
- Replacement parts (as needed)
- Vinegar or lime scale remover
- Sponge or cloth
- Bucket
- Rubber gloves
- Safety goggles
- Toilet plunger (optional)
Having these tools on hand will ensure you’re prepared for various repair scenarios.
Step-by-Step Troubleshooting Guide
Follow this comprehensive guide to identify and fix the issue causing your toilet to run continuously:
Step 1: Inspect the Flapper
1. Remove the tank lid carefully and set it aside.
2. Flush the toilet and observe the flapper.
3. Check if it’s seating properly and creating a tight seal.
4. Look for signs of wear, warping, or damage.
If the flapper is faulty:
- Turn off the water supply to the toilet.
- Flush to empty the tank.
- Unhook the chain from the flush lever.
- Remove the old flapper.
- Install a new flapper, ensuring it fits properly.
- Reattach the chain and turn the water supply back on.
Step 2: Check the Chain Length
1. Observe the chain connecting the flush lever to the flapper.
2. Ensure it has a slight slack when the flapper is closed.
3. Adjust the chain length if necessary by moving the clip on the chain.
Step 3: Examine the Fill Valve
1. Listen for a hissing sound coming from the fill valve.
2. Check if water is continuously flowing into the overflow tube.
3. Flush the toilet and observe if the fill valve shuts off properly.
If the fill valve is malfunctioning:
- Turn off the water supply.
- Flush to empty the tank.
- Unscrew the fill valve from the bottom of the tank.
- Replace it with a new fill valve, following the manufacturer’s instructions.
- Turn the water supply back on and test.
Step 4: Adjust the Float
1. Locate the float in the tank (cup float or ball float).
2. Check if the water level is too high, reaching the top of the overflow tube.
3. Adjust the float:
- For a cup float, squeeze the clip on the adjustment rod and slide it down to lower the water level.
- For a ball float, bend the arm slightly downward to lower the water level.
4. Aim for a water level about 1 inch below the top of the overflow tube.
Step 5: Inspect the Overflow Tube
1. Look for any cracks or damage on the overflow tube.
2. Check if water is continuously flowing into it.
If the overflow tube is cracked:
- Replace the entire flush valve assembly, as the overflow tube is typically part of this component.
- This may require professional assistance if you’re not comfortable with more complex plumbing tasks.
Step 6: Clean the Flush Valve Seat
1. Turn off the water supply and flush to empty the tank.
2. Remove the flapper to access the flush valve seat.
3. Clean the seat using vinegar or a lime scale remover.
4. Use a sponge or cloth to remove any mineral deposits.
5. Rinse thoroughly and reinstall the flapper.
Advanced Troubleshooting Techniques
If the above steps don’t resolve the issue, consider these advanced troubleshooting techniques:
Perform a Dye Test
1. Remove the tank lid.
2. Add a few drops of food coloring to the tank water.
3. Wait 15-20 minutes without flushing.
4. Check the bowl for colored water.
5. If you see colored water in the bowl, it indicates a leak between the tank and bowl.
Check for Silent Leaks
1. Turn off the water supply to the toilet.
2. Mark the water level in the tank with a pencil.
3. Wait 20-30 minutes.
4. If the water level has dropped, there’s likely a leak in the flush valve or flapper.
Inspect the Tank-to-Bowl Connection
1. Check for any visible leaks or dampness around the base of the toilet.
2. Tighten the bolts connecting the tank to the bowl if necessary.
3. If leaks persist, you may need to replace the tank-to-bowl gasket.
Preventive Maintenance Tips
To keep your toilet running smoothly and prevent future issues, consider implementing these preventive maintenance tips:
1. Regular Cleaning
Clean your toilet regularly, including the tank components, to prevent mineral buildup and extend the life of the parts.
2. Periodic Inspections
Perform visual inspections of your toilet’s components every few months to catch potential issues early.
3. Gentle Flushing
Avoid forceful or excessive flushing, which can strain the toilet’s components and lead to premature wear.
4. Address Issues Promptly
Don’t ignore minor problems, as they can escalate into more significant issues over time.
5. Use Quality Parts
When replacing components, opt for high-quality parts that are compatible with your toilet model.
6. Avoid Harsh Chemicals
Use toilet-safe cleaning products to avoid damaging the rubber and plastic components in your toilet.
When to Call a Professional Plumber
While many toilet issues can be resolved through DIY methods, some situations may require professional assistance:
- Persistent leaks that you can’t locate or fix
- Cracks in the toilet bowl or tank
- Complex repairs involving the main flush valve or other internal components
- Issues with the toilet’s connection to the main plumbing system
- If you’re uncomfortable or unsure about performing any repairs yourself
A professional plumber has the expertise and specialized tools to diagnose and fix more complex toilet problems efficiently and safely.
Eco-Friendly Options for Toilet Upgrades
If you find yourself frequently dealing with toilet issues or want to improve water efficiency, consider these eco-friendly upgrade options:
1. Dual-Flush Toilets
These toilets offer two flush options: a low-volume flush for liquid waste and a higher-volume flush for solid waste, significantly reducing water consumption.
2. Low-Flow Toilets
Modern low-flow toilets use less water per flush while maintaining effective waste removal, helping to conserve water and reduce utility bills.
3. Pressure-Assisted Toilets
These toilets use compressed air to enhance flushing power, which can be particularly useful in homes with low water pressure.
4. Composting Toilets
For the environmentally conscious, composting toilets offer a waterless solution that turns waste into compost, ideal for off-grid or eco-friendly homes.
Understanding Local Plumbing Codes
When performing toilet repairs or upgrades, it’s essential to be aware of local plumbing codes and regulations:
- Some areas may require permits for certain plumbing modifications.
- There might be specific requirements for water-saving fixtures.
- Certain types of toilets or installations may not be allowed in some jurisdictions.
Always check with your local building department or a licensed plumber to ensure your toilet repairs or upgrades comply with local codes.
Conclusion
A running toilet is not only a nuisance but can also lead to significant water waste and higher utility bills. By understanding the anatomy of your toilet, identifying common issues, and following the troubleshooting steps outlined in this guide, you can often resolve the problem quickly and efficiently.
Remember to approach toilet repairs with caution, using the appropriate tools and safety equipment. Regular maintenance and prompt attention to minor issues can prevent more significant problems down the line. If you’re ever in doubt or face a complex issue, don’t hesitate to seek professional help.
By taking a proactive approach to toilet maintenance and repair, you can ensure your bathroom fixtures remain in good working order, conserve water, and maintain a comfortable and functional home environment.
Frequently Asked Questions (FAQs)
Q1: How much water does a running toilet waste?
A: A continuously running toilet can waste up to 200 gallons of water per day, which is equivalent to flushing your toilet about 50 times. This can significantly increase your water bill and have a negative environmental impact.
Q2: Can a running toilet increase my water bill?
A: Yes, a running toilet can substantially increase your water bill. Depending on your local water rates, a toilet that runs continuously could add anywhere from $30 to $100 or more to your monthly water bill.
Q3: How often should I replace my toilet’s flapper?
A: On average, toilet flappers should be replaced every 4-5 years. However, this can vary depending on water quality and usage. If you notice frequent running or leaks, it might be time to replace the flapper sooner.
Q4: Is it normal for my toilet to run occasionally?
A: It’s normal for a toilet to run briefly after flushing as the tank refills. However, if your toilet runs frequently or continuously between flushes, it indicates a problem that needs attention.
Q5: Can hard water affect my toilet’s performance?
A: Yes, hard water can lead to mineral buildup on toilet components, potentially causing issues with flushing efficiency and leading to leaks. Regular cleaning and maintenance can help mitigate these effects.
Q6: How can I tell if my toilet is leaking if I can’t see or hear anything?
A: Perform a dye test by adding food coloring to the tank water. If colored water appears in the bowl without flushing within 15-20 minutes, you have a leak.
Q7: Are there any risks associated with DIY toilet repairs?
A: While many toilet repairs are safe for DIY, there are risks such as water damage if not done correctly, or injury from broken porcelain. Always turn off the water supply before starting repairs and use appropriate safety gear.
Q8: How long do toilets typically last?
A: With proper maintenance, a toilet can last 50 years or more. However, for optimal performance and water efficiency, consider replacing toilets that are 20-30 years old with newer, more efficient models.
Q9: Can a running toilet affect my septic system?
A: Yes, a continuously running toilet can overload your septic system, potentially leading to backups or system failures. It’s crucial to fix running toilets promptly if you have a septic system.
Q10: Is it worth upgrading to a water-efficient toilet?
A: Upgrading to a water-efficient toilet can significantly reduce water consumption, potentially saving thousands of gallons per year. This can lead to lower water bills and is more environmentally friendly. The initial investment often pays for itself over time through reduced water costs.