
Getting Started with Discord: Understanding the Basics
Before we dive into the process of creating a new channel on Discord, let’s take a moment to understand what Discord is and why it’s become such a popular platform for communication and community building.
Discord is a versatile communication platform that allows users to create servers, channels, and communities for various purposes. Whether you’re a gamer looking to connect with fellow enthusiasts, a business professional seeking a collaborative workspace, or simply someone who wants to stay in touch with friends, Discord offers a robust set of features to meet your needs.
Key Features of Discord
• Servers: These are the main organizational units in Discord, similar to separate workspaces or communities.
• Channels: Within servers, channels allow for focused discussions on specific topics.
• Voice and Video Chat: Users can communicate in real-time through voice or video calls.
• Text Chat: Traditional text-based communication is available in all channels.
• File Sharing: Users can easily share files, images, and links within chats.
• Roles and Permissions: Admins can assign roles and manage permissions for different users.
Now that we have a basic understanding of Discord, let’s move on to the main topic: creating a new channel.
Step-by-Step Guide to Creating a New Channel on Discord
Creating a new channel on Discord is a straightforward process. Follow these steps to set up your new channel quickly and efficiently.
Step 1: Log into Your Discord Account
First, ensure you’re logged into your Discord account. You can access Discord through the desktop application, web browser, or mobile app.
Step 2: Select the Server
Once logged in, choose the server where you want to create the new channel. You’ll see your servers listed on the left side of the Discord interface.
Step 3: Locate the Channels Section
In the selected server, find the “Channels” section. This is typically located below the server name and above any existing channels.
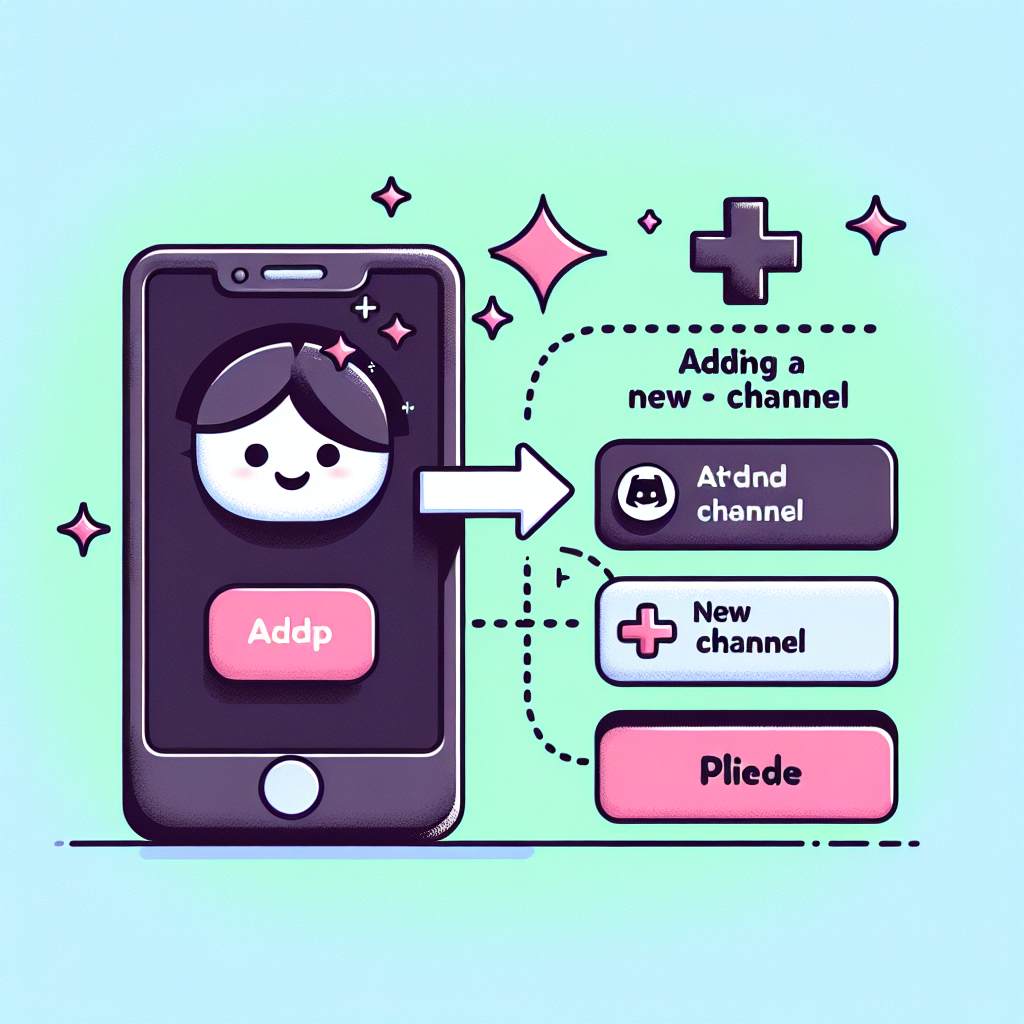
Step 4: Click the Plus (+) Icon
Next to the “Channels” header, you’ll see a plus (+) icon. Click on this icon to begin creating a new channel.
Step 5: Choose the Channel Type
Discord offers two main types of channels:
1. Text Channel: For text-based communication
2. Voice Channel: For voice and video communication
Select the type that best suits your needs.
Step 6: Name Your Channel
Give your new channel a name. Choose something descriptive and relevant to its purpose. Remember, channel names in Discord are always lowercase and can’t contain spaces (use hyphens instead).
Step 7: Set Channel Permissions (Optional)
You can set specific permissions for your new channel. This allows you to control who can view, send messages, or manage the channel. If you want to use the default server permissions, you can skip this step.
Step 8: Create the Channel
Once you’ve configured the settings to your liking, click the “Create Channel” button to finalize the process.
Congratulations! You’ve successfully created a new channel on Discord.
Customizing Your New Discord Channel
After creating your channel, you may want to customize it further to enhance its functionality and appearance. Here are some ways to do that:
Setting a Channel Topic
1. Right-click on the channel name
2. Select “Edit Channel”
3. In the “Channel Topic” field, enter a brief description of the channel’s purpose
4. Click “Save Changes”
Adding Channel Description
1. Click on the channel name
2. Look for the “Add a description” option near the top of the chat window
3. Enter a more detailed description of the channel’s purpose or guidelines
4. Press Enter to save
Creating Channel Categories
To keep your server organized, especially as you add more channels, consider creating categories:
1. Right-click in the channels area
2. Select “Create Category”
3. Name your category
4. Drag and drop channels into the category
Best Practices for Managing Discord Channels
To ensure your Discord channels remain active, engaging, and valuable to your community, consider implementing these best practices:
1. Establish Clear Guidelines
Create and communicate clear rules for each channel. This helps maintain a positive atmosphere and reduces the likelihood of conflicts.
2. Assign Moderators
As your community grows, consider assigning trusted members as moderators to help enforce rules and manage the channel.
3. Regularly Engage with Members
Stay active in your channels by participating in discussions, asking questions, and acknowledging member contributions.
4. Use Bots to Enhance Functionality
Discord bots can add various features to your channels, such as moderation tools, music playback, or custom commands. Some popular bots include:
• MEE6: For moderation and leveling systems
• Dyno: For customizable commands and automation
• Mudae: For game-related features and mini-games
5. Periodically Review and Adjust
Regularly assess your channel structure and make adjustments as needed. This might involve creating new channels, archiving inactive ones, or reorganizing categories.
Advanced Discord Channel Features
As you become more comfortable with Discord, you may want to explore some of its more advanced features to enhance your channels:
Slow Mode
Slow Mode limits how often users can send messages in a channel. This can be useful for managing high-traffic channels or during live events.
To enable Slow Mode:
1. Right-click on the channel name
2. Select “Edit Channel”
3. Scroll down to “Slow Mode”
4. Choose the desired time interval between messages
5. Click “Save Changes”
NSFW Channels
For content that may not be suitable for all audiences, you can mark a channel as NSFW (Not Safe For Work):
1. Right-click on the channel name
2. Select “Edit Channel”
3. Toggle on the “NSFW Channel” option
4. Click “Save Changes”
Channel Permissions Overrides
You can set specific permissions for individual users or roles within a channel, overriding the server-wide permissions:
1. Right-click on the channel name
2. Select “Edit Channel”
3. Click on the “Permissions” tab
4. Add a new role or user and customize their permissions
5. Click “Save Changes”
Integrating Discord Channels with Other Platforms
To maximize the utility of your Discord channels, consider integrating them with other platforms and tools:
Webhooks
Webhooks allow you to send automated messages to your Discord channels from external sources. This can be useful for notifications from:
• GitHub: Get updates on code repositories
• Twitch: Receive alerts when streamers go live
• RSS Feeds: Automatically share new content from websites
API Integration
For more advanced users, Discord offers an API that allows for custom integrations and bot development. This opens up possibilities for creating unique features tailored to your community’s needs.
Troubleshooting Common Discord Channel Issues
Even with careful setup, you may encounter some issues with your Discord channels. Here are solutions to some common problems:
Channel Not Visible to Users
If users can’t see a channel:
1. Check the channel permissions
2. Ensure users have the necessary roles to access the channel
3. Verify that the channel isn’t hidden or archived
Unable to Send Messages
If users can’t send messages in a channel:
1. Check if the user has the “Send Messages” permission
2. Ensure Slow Mode isn’t set too restrictively
3. Verify that the channel isn’t set to “Read Only”
Voice Channel Connection Issues
For voice channel connection problems:
1. Check the user’s internet connection
2. Ensure the correct input/output devices are selected in Discord settings
3. Verify that the user has the necessary permissions to join voice channels
Leveraging Discord Channels for Different Purposes
Discord channels can be utilized for various purposes beyond casual communication. Here are some ideas for leveraging Discord channels in different contexts:
Educational Settings
• Create separate channels for different subjects or courses
• Use voice channels for virtual study groups or tutoring sessions
• Share educational resources and materials in dedicated channels
Business and Professional Use
• Set up channels for different departments or projects
• Use voice channels for remote meetings and collaborations
• Create announcement channels for company-wide updates
Gaming Communities
• Organize channels by game titles or genres
• Use voice channels for in-game communication
• Create channels for sharing gameplay tips and strategies
Creative Communities
• Set up channels for different art forms or mediums
• Use voice channels for live performances or workshops
• Create channels for sharing works-in-progress and receiving feedback
Staying Updated with Discord Features
Discord regularly introduces new features and improvements. To stay informed about the latest updates:
1. Follow the official Discord blog
2. Join the Discord Testers server for early access to new features
3. Keep your Discord application updated to the latest version
Conclusion
Creating and managing channels on Discord is a crucial skill for anyone looking to build and nurture online communities. By following the steps outlined in this guide and implementing best practices, you can create engaging, organized, and purposeful channels that serve your community’s needs.
Remember that the key to successful Discord channels lies not just in their creation, but in active management and engagement. Regularly interact with your community, adapt to their needs, and don’t be afraid to experiment with different features and integrations to enhance the user experience.
As Discord continues to evolve and introduce new features, stay curious and open to learning. The platform offers vast possibilities for communication and community building, and mastering its features can lead to rich, rewarding online experiences for you and your community members.
FAQs
Q1: How many channels can I create in a Discord server?
A: There’s no strict limit on the number of channels you can create in a Discord server. However, for practical reasons and to maintain organization, it’s recommended to keep the number manageable.
Q2: Can I delete a channel once it’s created?
A: Yes, you can delete a channel. Right-click on the channel name, select “Edit Channel,” scroll down to the bottom, and click “Delete Channel.” Note that this action is irreversible.
Q3: How do I make a channel private?
A: To make a channel private, edit the channel permissions. Remove the “View Channel” permission from the @everyone role and add it only for specific roles or users you want to have access.
Q4: Can I change a text channel to a voice channel or vice versa?
A: No, you cannot directly convert a text channel to a voice channel or vice versa. You would need to create a new channel of the desired type and delete the old one.
Q5: How do I pin important messages in a channel?
A: To pin a message, hover over it, click the three dots that appear, and select “Pin Message.” Pinned messages can be viewed by clicking the pushpin icon at the top of the channel.