
Here’s a 3000-word SEO-optimized WordPress blog article on tackling minor home repairs:
Introduction: Empowering Homeowners to Tackle Minor Repairs
Owning a home comes with its fair share of responsibilities, and one of the most crucial is maintaining your property. While major renovations and repairs often require professional help, many minor issues can be easily addressed by homeowners themselves. This comprehensive guide will equip you with the knowledge, skills, and confidence to tackle common household repairs without breaking a sweat or your budget.
The Benefits of DIY Home Repairs
Before we dive into specific repair techniques, let’s explore why learning to handle minor home repairs yourself is a valuable skill:
- Cost savings: Hiring professionals for every small repair can quickly add up. By doing it yourself, you’ll save money on labor costs.
- Immediate solutions: When you know how to fix things, you can address problems as soon as they arise, preventing further damage.
- Sense of accomplishment: Successfully completing a repair gives you a sense of pride and boosts your confidence in your abilities.
- Increased home knowledge: As you learn to repair various aspects of your home, you’ll gain a deeper understanding of how your house functions.
- Customization: DIY repairs allow you to tailor solutions to your specific needs and preferences.
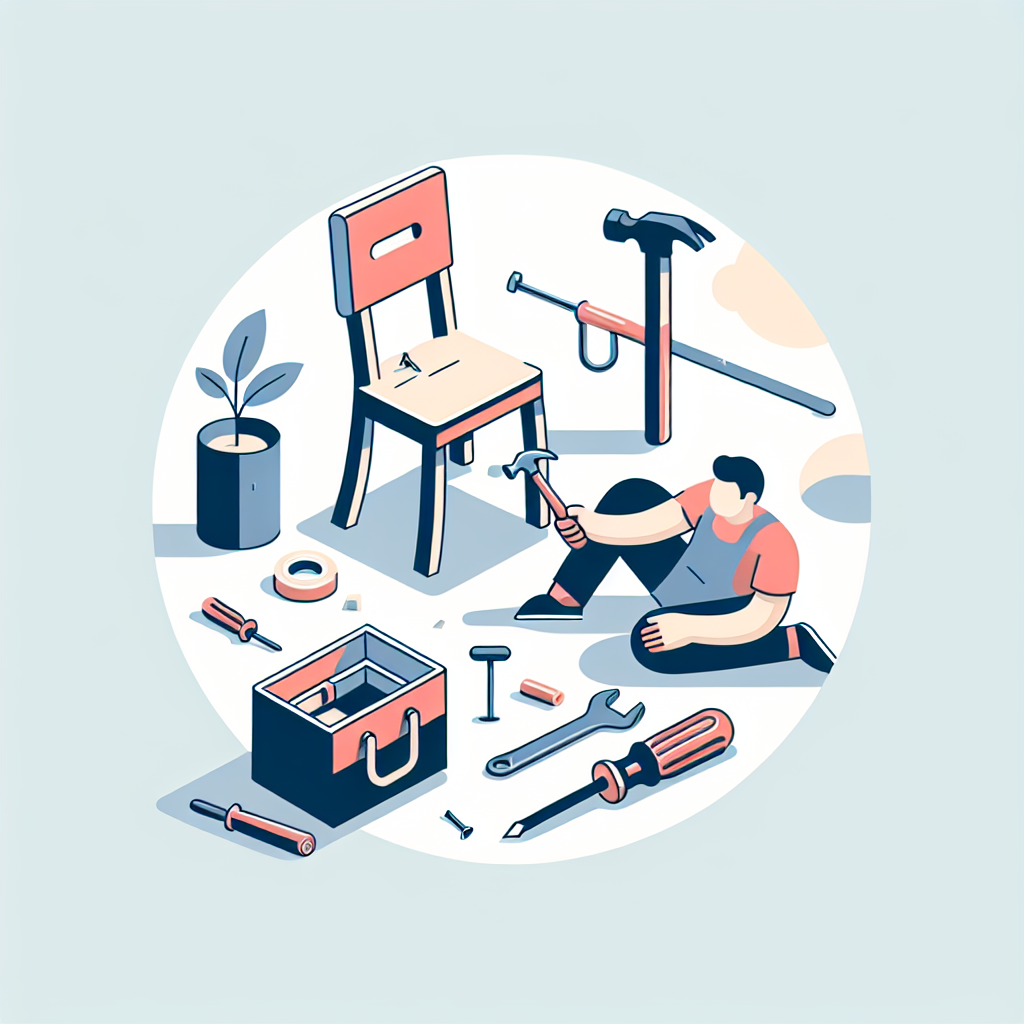
Essential Tools for the DIY Homeowner
Before you start tackling repairs, it’s important to have a well-stocked toolbox. Here are some must-have tools for any homeowner:
Basic Tools
- Hammer
- Screwdriver set (flathead and Phillips head)
- Pliers (needle-nose and adjustable)
- Utility knife
- Measuring tape
- Level
- Putty knife
- Allen wrench set
Power Tools
- Cordless drill
- Electric sander
- Jigsaw
Specialty Tools
- Pipe wrench
- Stud finder
- Caulking gun
- Voltage tester
Safety First: Protecting Yourself During Home Repairs
Before you begin any repair project, it’s crucial to prioritize safety. Here are some essential safety tips:
- Wear protective gear: Safety glasses, work gloves, and dust masks are essential for many repair tasks.
- Turn off utilities: When working on plumbing or electrical systems, always shut off the main supply first.
- Use proper ladder safety: Ensure ladders are stable and positioned correctly before climbing.
- Keep a first aid kit handy: Accidents can happen, so be prepared with a well-stocked first aid kit.
- Know your limits: If a repair seems too complex or dangerous, don’t hesitate to call a professional.
Common Home Repairs You Can Tackle
Now that we’ve covered the basics, let’s dive into specific repairs you can confidently handle on your own.
1. Fixing a Leaky Faucet
A dripping faucet is not only annoying but can also waste a significant amount of water. Here’s how to fix it:
- Turn off the water supply to the faucet.
- Remove the faucet handle and cartridge.
- Inspect the O-rings and washers for wear and tear.
- Replace any damaged parts.
- Reassemble the faucet and test for leaks.
Pro tip: Take photos or videos of each step during disassembly to make reassembly easier.
2. Patching Drywall Holes
Small holes in drywall are common but easy to fix:
- Clean the area around the hole.
- Apply self-adhesive drywall patch for small holes.
- For larger holes, cut a piece of drywall slightly larger than the hole.
- Secure the patch with drywall screws.
- Apply joint compound over the patch, let it dry, and sand smooth.
- Paint to match the surrounding wall.
Pro tip: Use a putty knife to apply joint compound in thin layers for a smoother finish.
3. Unclogging a Drain
Clogged drains are a common household nuisance. Here’s how to clear them:
- Try using a plunger first.
- If that doesn’t work, use a drain snake or auger.
- For stubborn clogs, remove and clean the P-trap.
- Use a mixture of baking soda and vinegar for natural cleaning.
Pro tip: Avoid using chemical drain cleaners as they can damage pipes and are harmful to the environment.
4. Fixing a Running Toilet
A running toilet can waste gallons of water. Here’s how to fix it:
- Check the flapper for proper sealing.
- Adjust or replace the fill valve if necessary.
- Ensure the chain length is correct.
- Clean mineral deposits from the tank components.
Pro tip: Keep spare parts like flappers and fill valves on hand for quick repairs.
5. Repairing Squeaky Floors
Squeaky floors can be annoying but are often easy to fix:
- Locate the source of the squeak.
- For hardwood floors, sprinkle talcum powder between the boards.
- For carpeted floors, drive screws through the carpet into the subfloor.
- Use a specialized squeak-repair kit for more stubborn cases.
Pro tip: When driving screws, use a stud finder to locate joists for better support.
6. Fixing Sticky Doors
Doors that stick or don’t close properly can be frustrating. Here’s how to address the issue:
- Tighten loose hinge screws.
- If the door is rubbing, sand down the problem areas.
- For doors that don’t latch, adjust the strike plate.
- Apply lubricant to hinges if they’re squeaking.
Pro tip: Use a pencil to mark areas where the door is rubbing before sanding.
7. Sealing Gaps and Cracks
Sealing gaps and cracks can improve energy efficiency and prevent pests:
- Clean the area thoroughly.
- Apply caulk to small gaps around windows and doors.
- Use expanding foam for larger gaps in walls or around pipes.
- Install weatherstripping on doors and windows.
Pro tip: Use painter’s tape to create clean edges when applying caulk.
8. Repairing Small Appliances
Many small appliances can be repaired at home:
- Consult the user manual for troubleshooting tips.
- Check for loose connections or damaged cords.
- Clean or replace filters in appliances like vacuums.
- Lubricate moving parts in items like fans or blenders.
Pro tip: Always unplug appliances before attempting any repairs.
Advanced DIY Home Repairs
For those feeling more confident, here are some slightly more advanced repairs you can tackle:
1. Replacing a Light Fixture
- Turn off power at the circuit breaker.
- Remove the old fixture carefully.
- Connect the new fixture’s wires to the existing wires.
- Secure the new fixture to the electrical box.
- Install light bulbs and test the fixture.
Pro tip: Take a photo of the wire connections before removing the old fixture for reference.
2. Installing a New Faucet
- Turn off water supply and disconnect the old faucet.
- Clean the sink surface thoroughly.
- Install the new faucet according to manufacturer instructions.
- Connect water supply lines and check for leaks.
Pro tip: Use plumber’s putty or silicone sealant to create a watertight seal around the new faucet.
3. Replacing Damaged Tiles
- Remove the damaged tile carefully using a chisel and hammer.
- Clean the area and apply new adhesive.
- Place the new tile and use spacers for even gaps.
- Allow adhesive to dry, then apply grout.
- Clean excess grout and seal if necessary.
Pro tip: Save a few extra tiles when installing new flooring for future repairs.
Preventive Maintenance: Keeping Your Home in Top Shape
Regular maintenance can prevent many common repairs. Here are some tasks to perform regularly:
- Clean gutters and downspouts twice a year to prevent water damage.
- Inspect your roof annually for damaged or missing shingles.
- Test smoke and carbon monoxide detectors monthly and replace batteries as needed.
- Change HVAC filters every 1-3 months for optimal performance.
- Check for leaks under sinks and around toilets regularly.
- Trim trees and shrubs away from your home to prevent damage during storms.
When to Call a Professional
While many repairs can be DIY projects, some situations require professional help:
- Electrical work: Anything beyond simple fixture replacements should be handled by a licensed electrician.
- Plumbing issues: Major leaks, sewer line problems, or water heater replacements are best left to professionals.
- Structural repairs: Foundation issues, roof replacements, or wall removals require expert knowledge.
- HVAC problems: Complex heating and cooling system repairs should be done by certified technicians.
- Gas appliance repairs: Due to safety concerns, always hire a professional for gas-related issues.
Resources for Continuous Learning
To continue improving your DIY skills, consider these resources:
- Online tutorials: Websites like YouTube and DIY Network offer countless video tutorials.
- Home improvement books: Invest in comprehensive guides for reference.
- Local workshops: Many hardware stores offer free or low-cost DIY classes.
- Community college courses: Consider taking classes in basic carpentry, plumbing, or electrical work.
- DIY forums and communities: Join online communities to share experiences and ask questions.
Conclusion: Empowering Yourself as a Homeowner
Tackling minor home repairs yourself is not only cost-effective but also incredibly rewarding. By learning these skills, you’ll gain confidence in your abilities and a deeper appreciation for your home. Remember to always prioritize safety, know your limits, and don’t hesitate to call a professional when needed.
With practice and patience, you’ll find that many household issues can be resolved quickly and easily. Keep learning, stay curious, and enjoy the satisfaction that comes with maintaining and improving your home with your own two hands.
FAQs: Common Questions About DIY Home Repairs
Q: How do I know if a repair is within my skill level?
A: Start with simple tasks and gradually work your way up. If a repair involves complex systems, dangerous materials, or could cause significant damage if done incorrectly, it’s best to consult a professional.
Q: What should I do if I start a repair and realize it’s beyond my abilities?
A: Stop immediately and assess the situation. If possible, return everything to its original state. Don’t hesitate to call a professional if you’re unsure how to proceed safely.
Q: Are there any repairs that are illegal for homeowners to do themselves?
A: Laws vary by location, but generally, major electrical, plumbing, and structural work require permits and licensed professionals. Always check local regulations before starting a project.
Q: How can I save money on tools for home repairs?
A: Consider renting or borrowing specialized tools you’ll use infrequently. Look for second-hand tools in good condition, and invest in quality for tools you’ll use often.
Q: What’s the best way to learn new DIY skills?
A: Start with online tutorials and books, then practice on small projects. Consider taking classes or workshops for more hands-on experience. Don’t be afraid to ask experienced friends or family members for guidance.
Q: How often should I perform preventive maintenance on my home?
A: Create a seasonal checklist for tasks like gutter cleaning, HVAC maintenance, and inspecting for leaks or damage. Some tasks should be done monthly (like testing smoke detectors), while others can be annual or bi-annual.
By following this guide and continuously expanding your skills, you’ll be well-equipped to handle a wide range of minor home repairs. Remember, every successful repair not only saves you money but also builds your confidence as a capable homeowner.